Unblur images and recover usable detail
Reduce blur from photos, product shots, screenshots, and creative assets so they can be reused in campaigns and content.
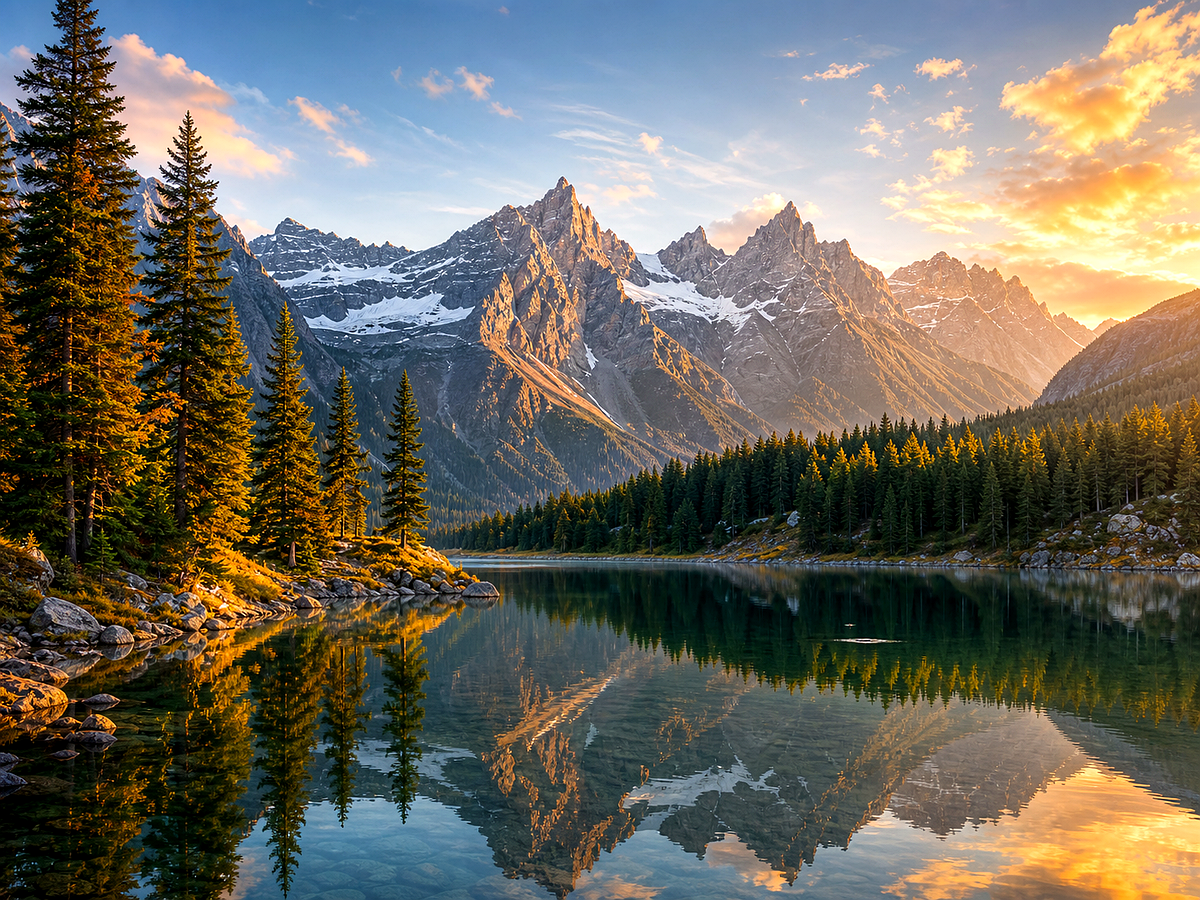
Create your own version
Open Megick to upload an image, write the edit direction, compare variants, and save the finished asset.
- Output options
- PNG · JPG · WebP
- Live comparison
- Before and after preview
- Studio workflow
- Prompt guided Before/after review
Overview
What unblur image helps you do
Start from a focused image goal, then continue in the studio when you are ready to create the finished result.
Use unblur when an important image is too soft, shaky, or blurred to reuse confidently.
Megick treats deblurring as part of image production, so you can continue into enhancement, upscaling, cleanup, or generation without switching tools.
Why use it
Why use unblur image?
Practical ways to use this tool across product images, content, campaigns, and creative review.
Camera shake recovery
Improve images where handheld motion made the result too soft.
Product detail repair
Recover edge clarity in catalog, marketplace, and ad product images.
Content reuse
Rescue useful images from older folders before replacing them entirely.
Results
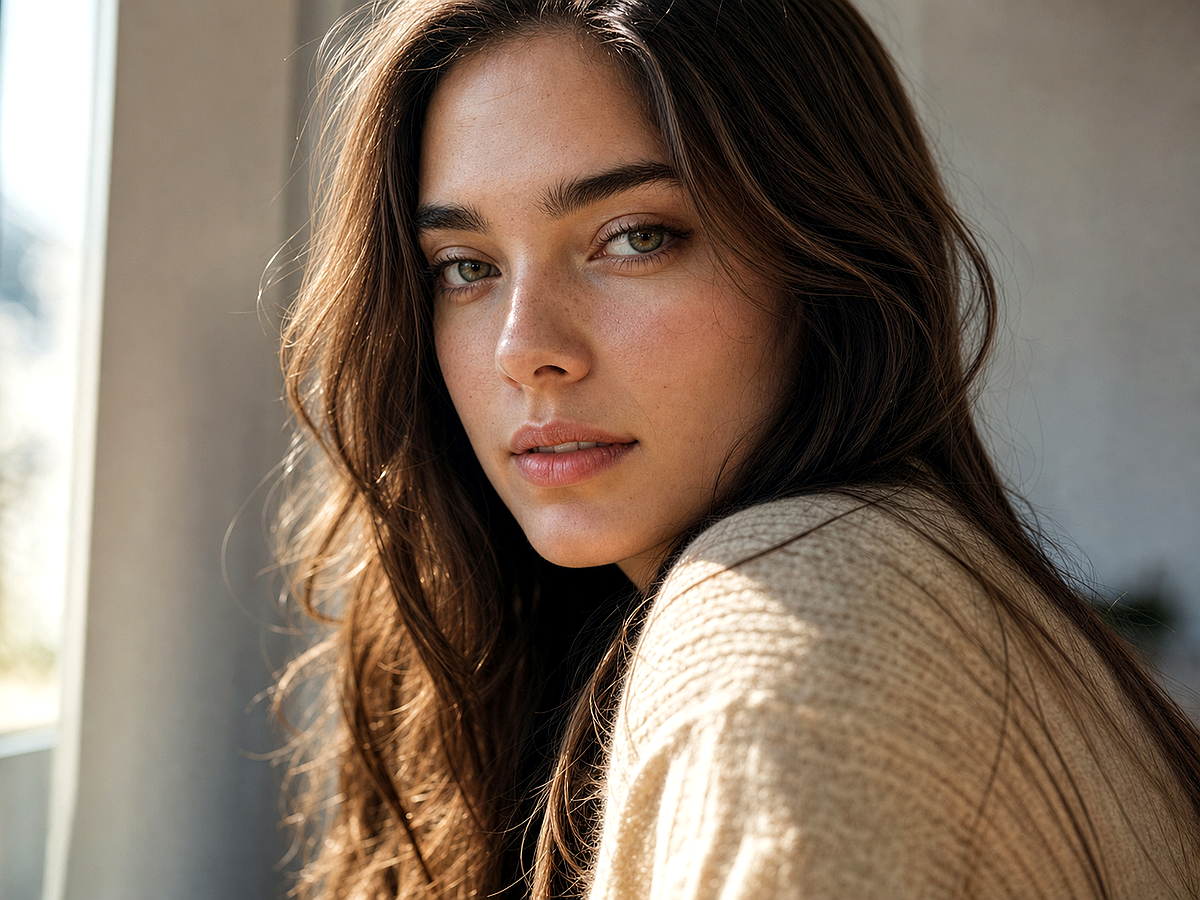
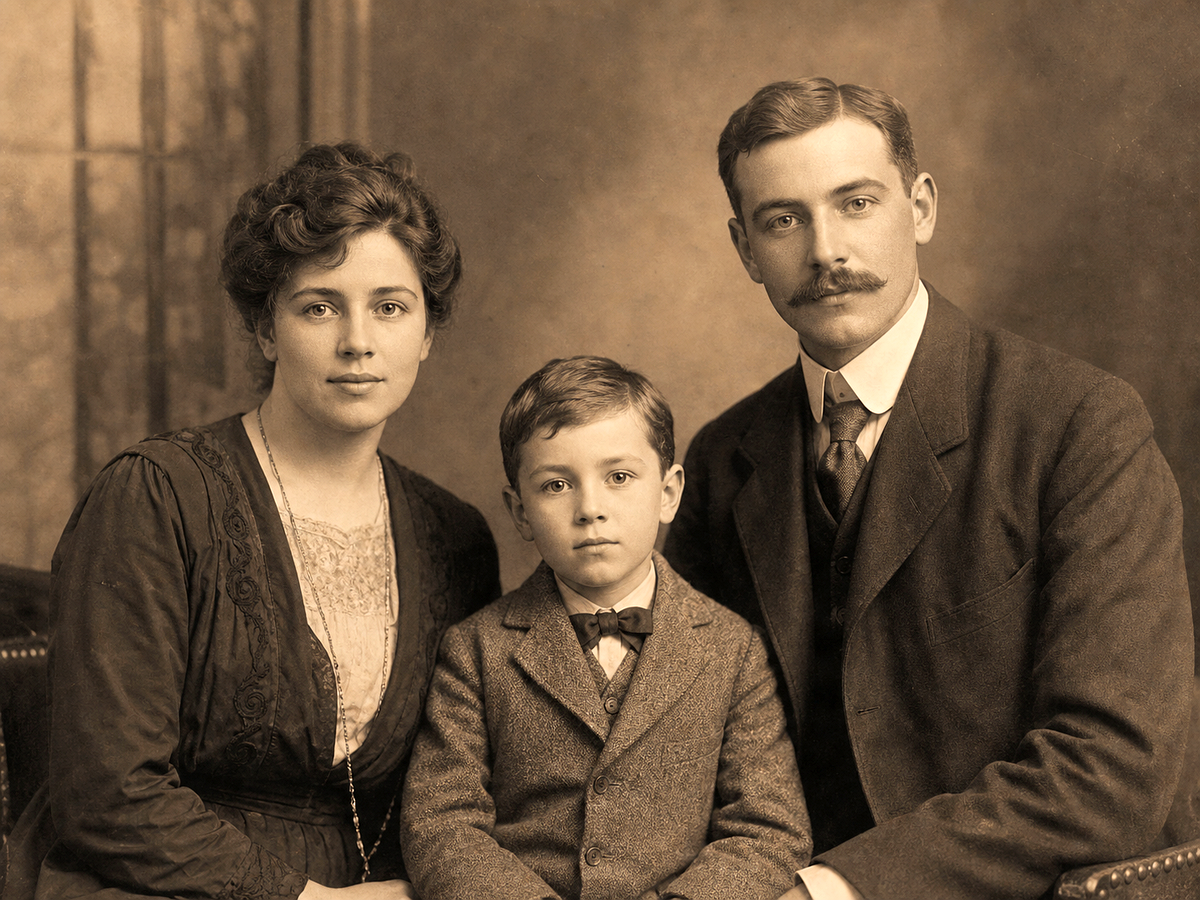
Unblur Image before and after examples
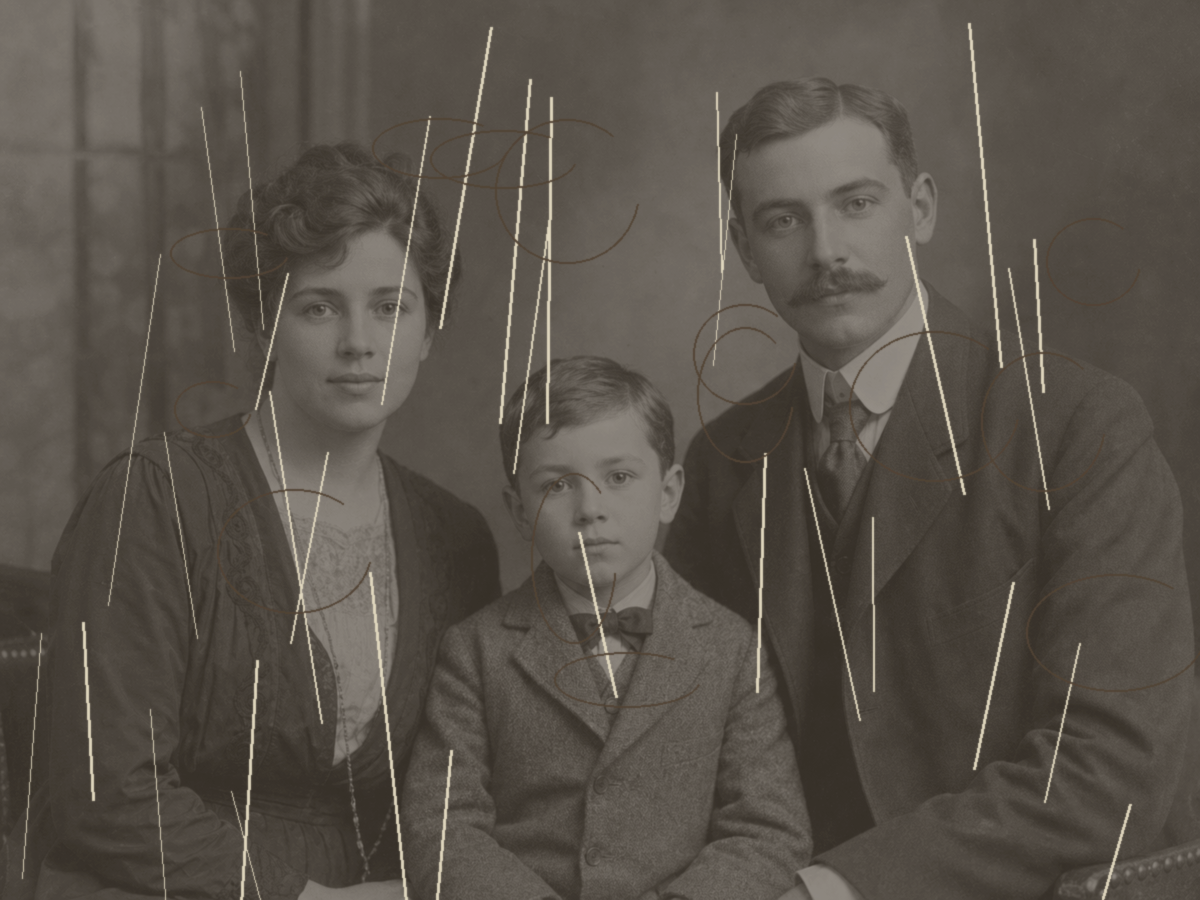
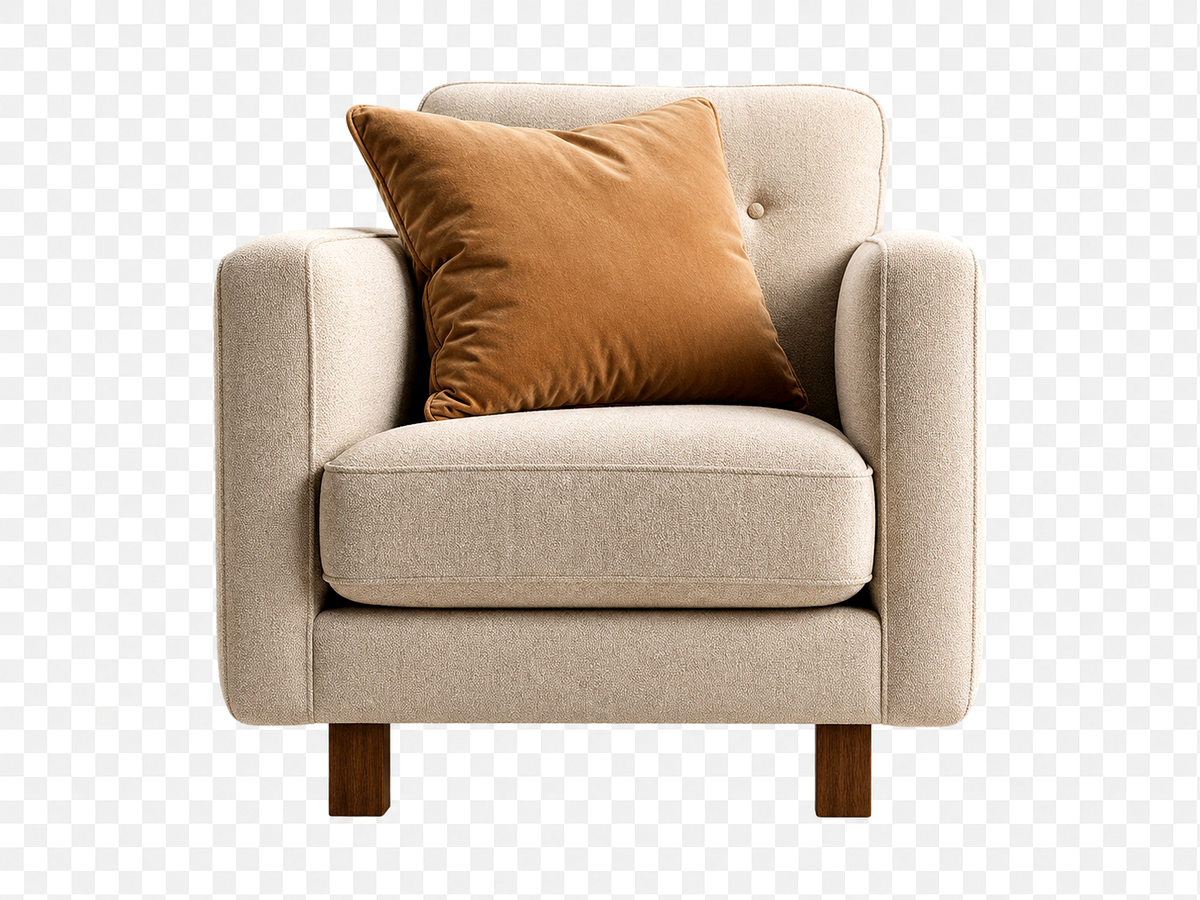
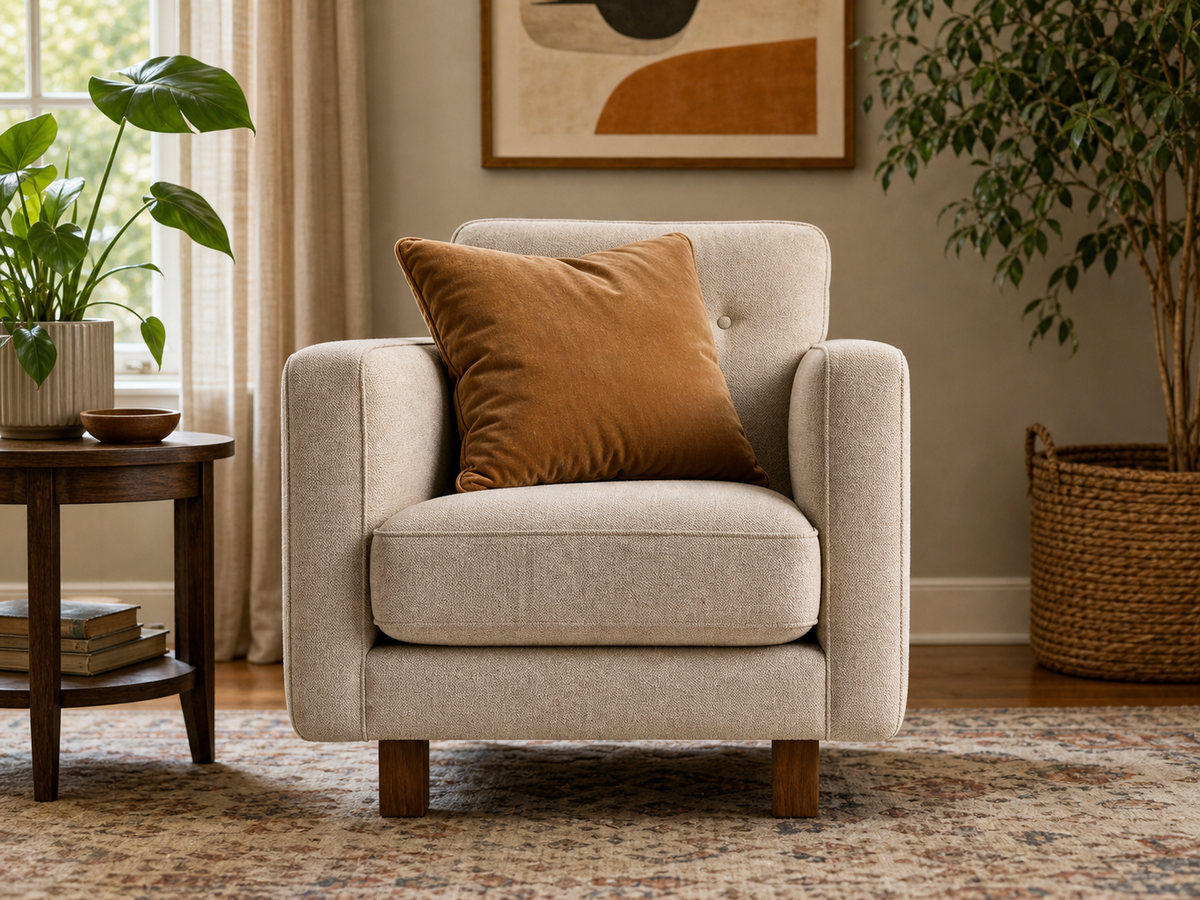
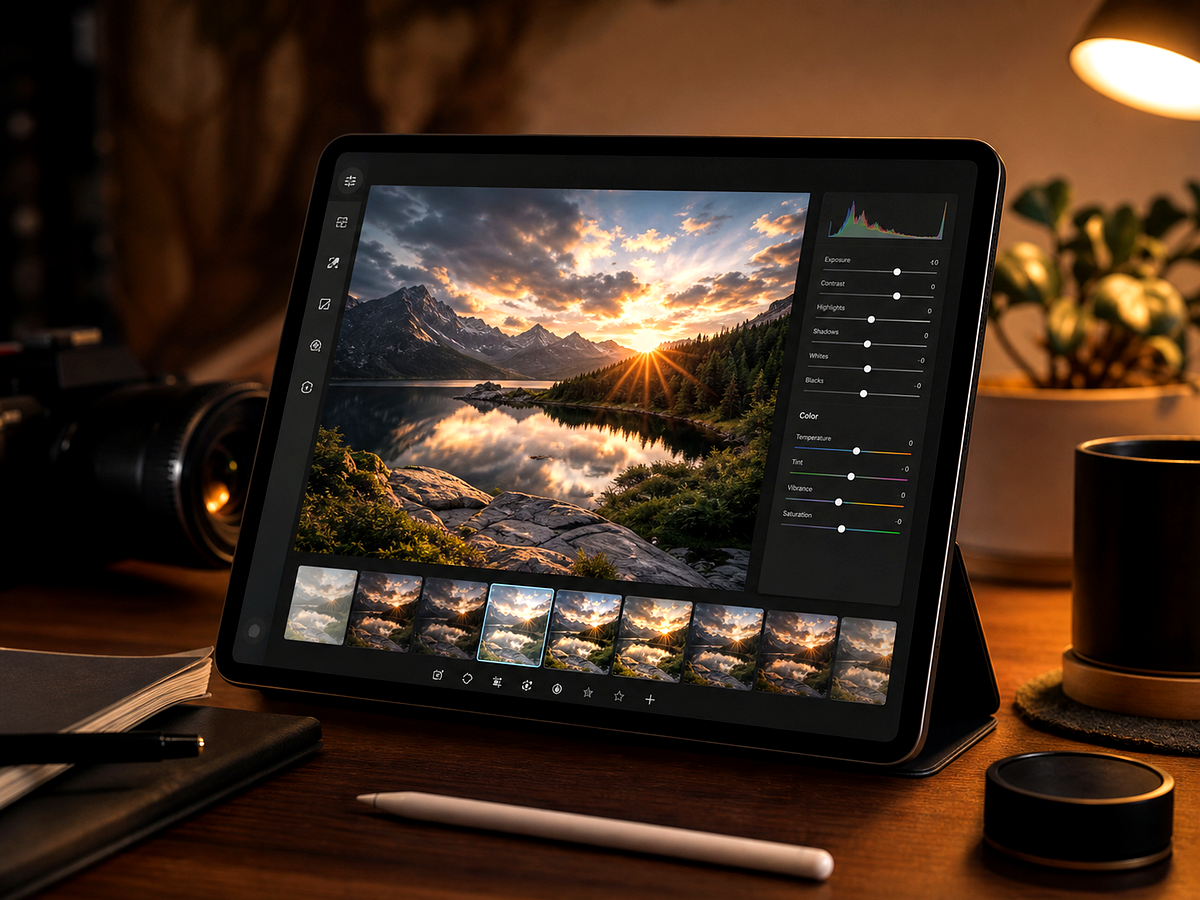
Compare the original image with the edited result. Move the handle to inspect edges, texture, lighting, and subject detail.

Create
Start in Megick
Use the button when you are ready to work with prompts, references, variants, and follow-up edits in one workspace.
Open the studio
Start from the image workspace with the blurred photo or asset.
Describe the blur
Mention soft focus, motion blur, camera shake, or low-detail edges.
Review artifacts
Check faces, text, and fine lines to avoid over-sharpened results.
Improvements
What this workflow improves
A quick view of the practical image improvements this tool is best suited to handle.
- Motion blur reduction
- Soft-focus repair
- Detail-aware prompting
- Works with follow-up edits
Feedback
What creators check before publishing
The comparison view makes it easier to spot whether details stayed natural.
Having related image tools close by keeps cleanup, enhancement, and export decisions in one workflow.
The studio path is direct: open the image, describe the edit, compare, then keep the best result.
Related tools
Keep working with related image tools
Move between connected image tasks without losing your place.
Sharpen Image
Improve edge clarity and perceived detail for photos, product shots, thumbnails, screenshots, and campaign assets.
Photo Restoration
Repair scratches, fading, cracks, contrast loss, and soft detail so older photos can be preserved and reused.
Background Remover
Remove clutter, create cutouts, and build cleaner visual compositions for products, portraits, social posts, and ads.
AI Photo Editor
Edit, enhance, generate variants, clean backgrounds, and prepare assets for publishing from a single creative studio.
FAQ
Unblur Image FAQ
Ready to use unblur image?
Continue to Megick to create, edit, compare, and save the finished image.