AI photo editor for publish-ready image assets
Edit, enhance, generate variants, clean backgrounds, and prepare assets for publishing from a single creative studio.
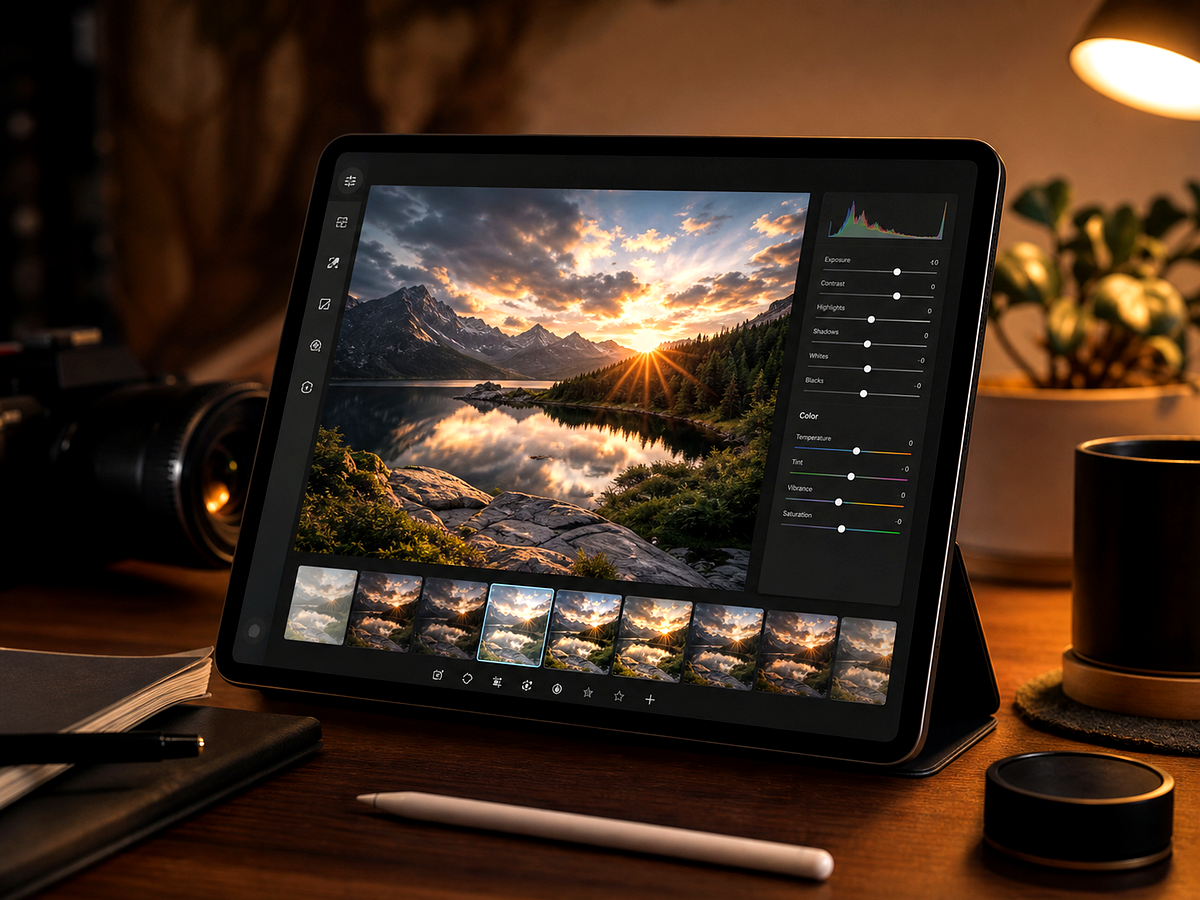
Create your own version
Open Megick to upload an image, write the edit direction, compare variants, and save the finished asset.
- Output options
- PNG · JPG · WebP
- Live comparison
- Before and after preview
- Studio workflow
- Prompt guided Before/after review
Overview
What ai photo editor helps you do
Start from a focused image goal, then continue in the studio when you are ready to create the finished result.
Use the AI photo editor when you know the image needs work but the exact fix may involve enhancement, cleanup, generation, background changes, or restoration.
Megick brings those specialized tasks into one prompt-friendly workspace so creative teams can refine images without scattering the process across separate tools.
Why use it
Why use ai photo editor?
Practical ways to use this tool across product images, content, campaigns, and creative review.
Marketing asset refinement
Adjust visuals until they fit a campaign, product page, email, or social post.
Creative variant production
Create multiple directions from one image or prompt and compare results quickly.
Content operations
Refresh, clean, and standardize images across blog, product, and brand libraries.
Results
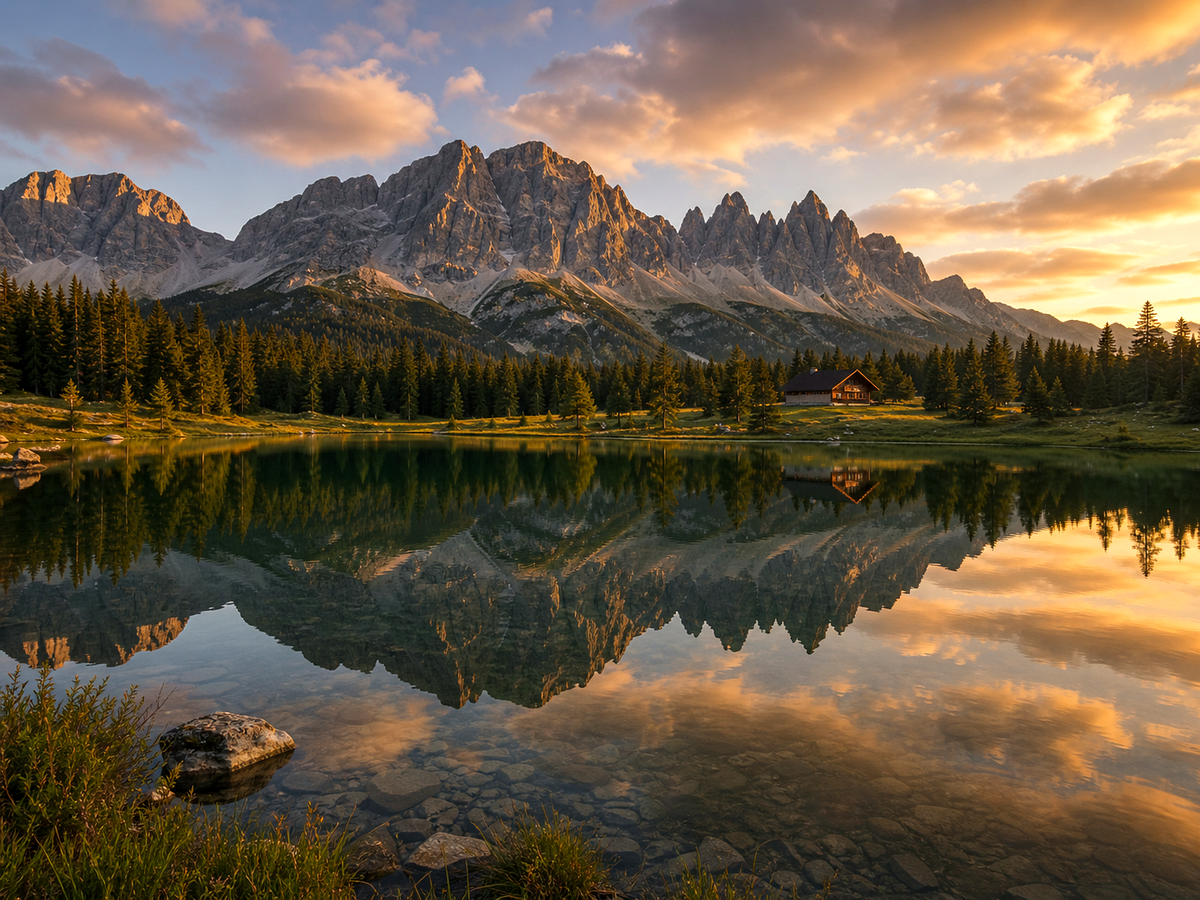
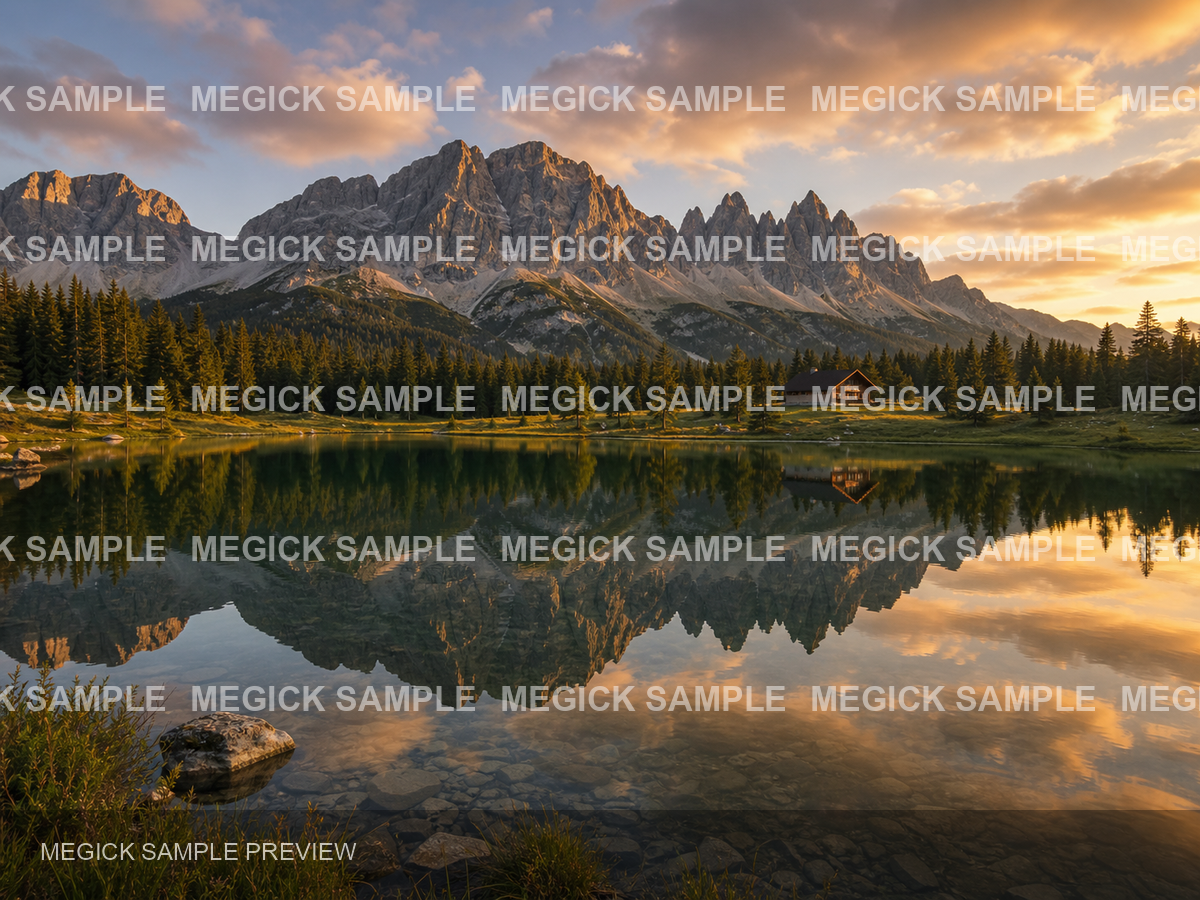
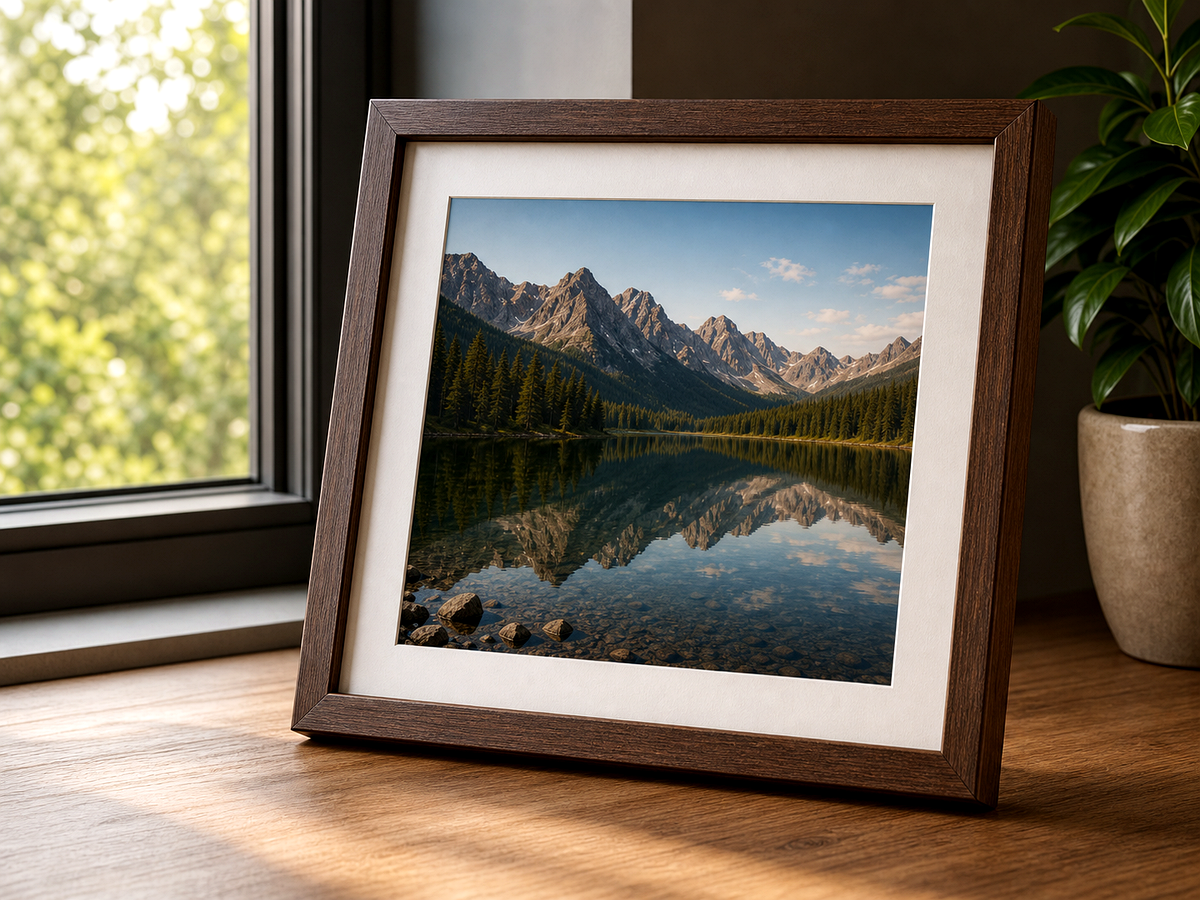
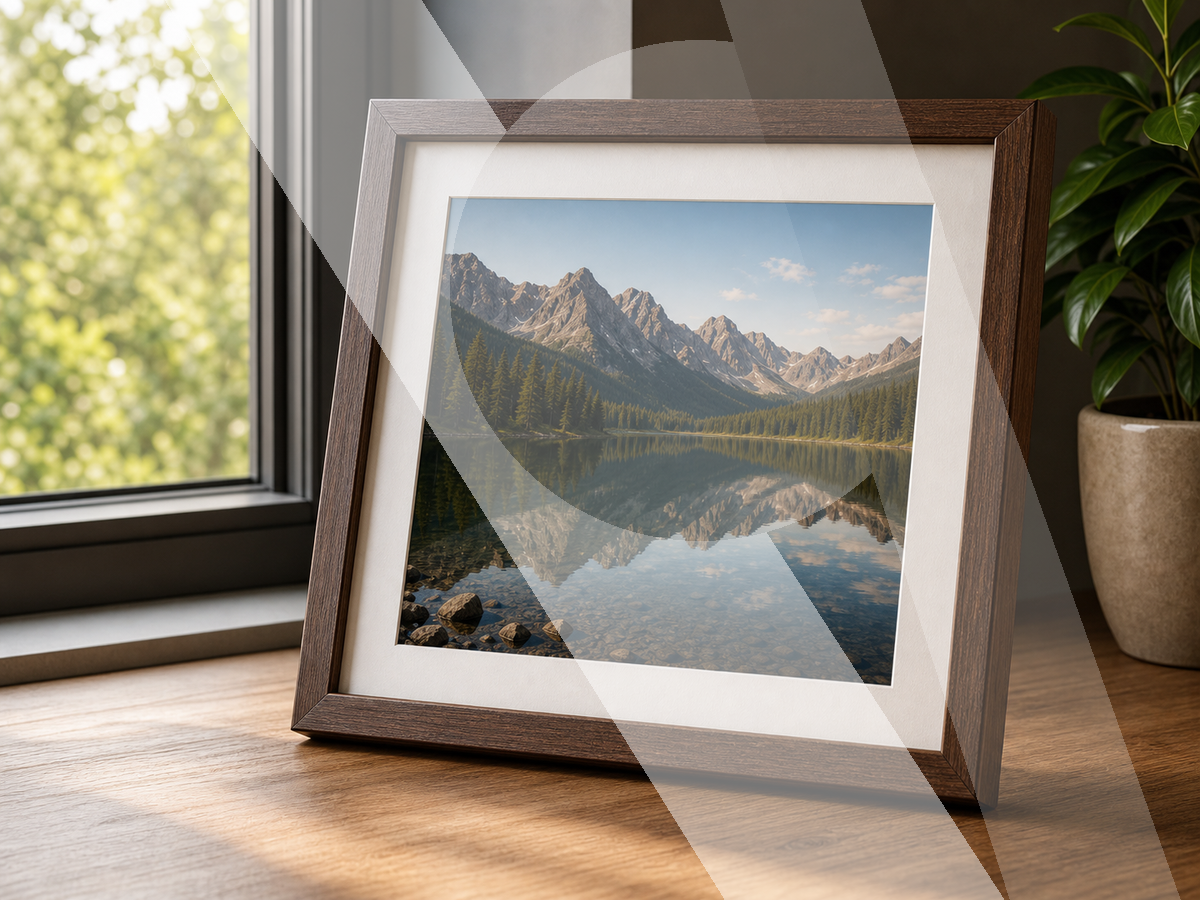
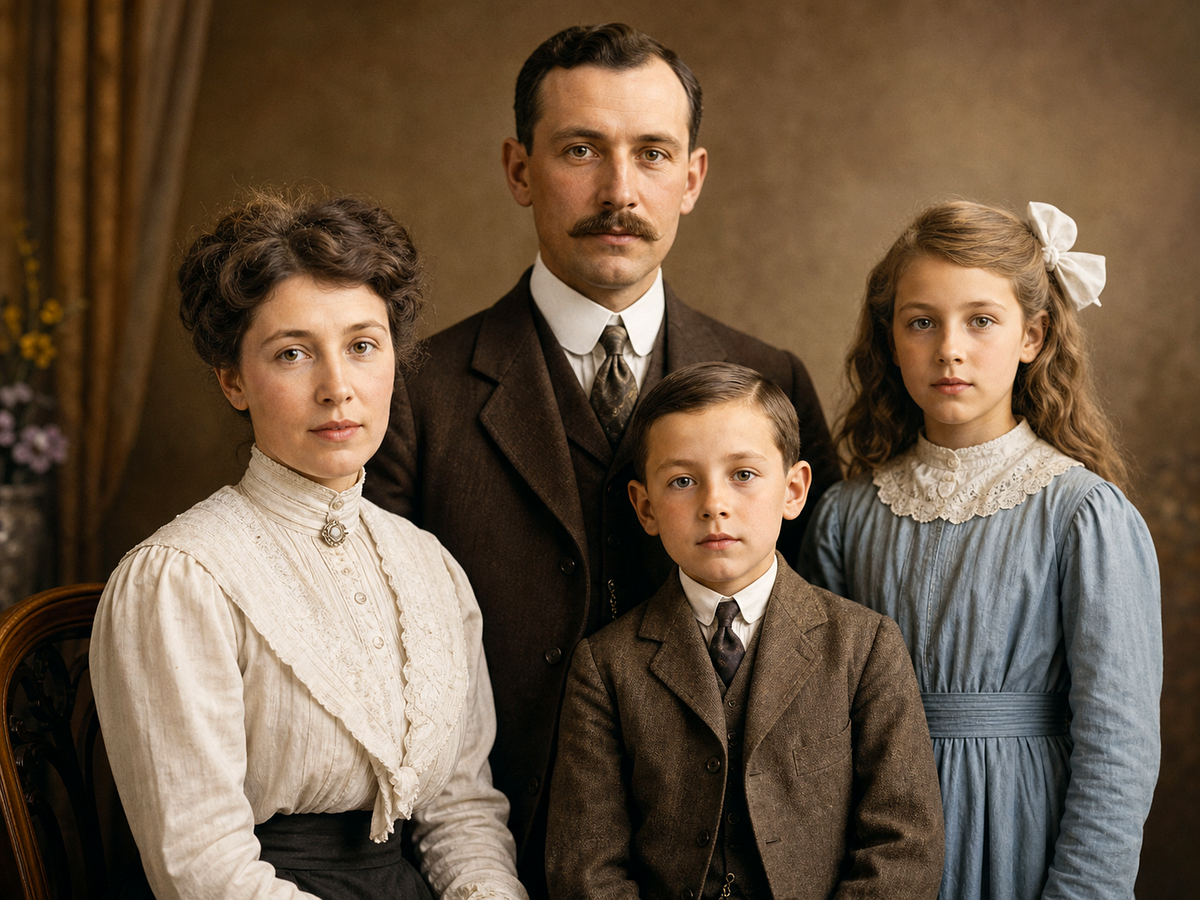
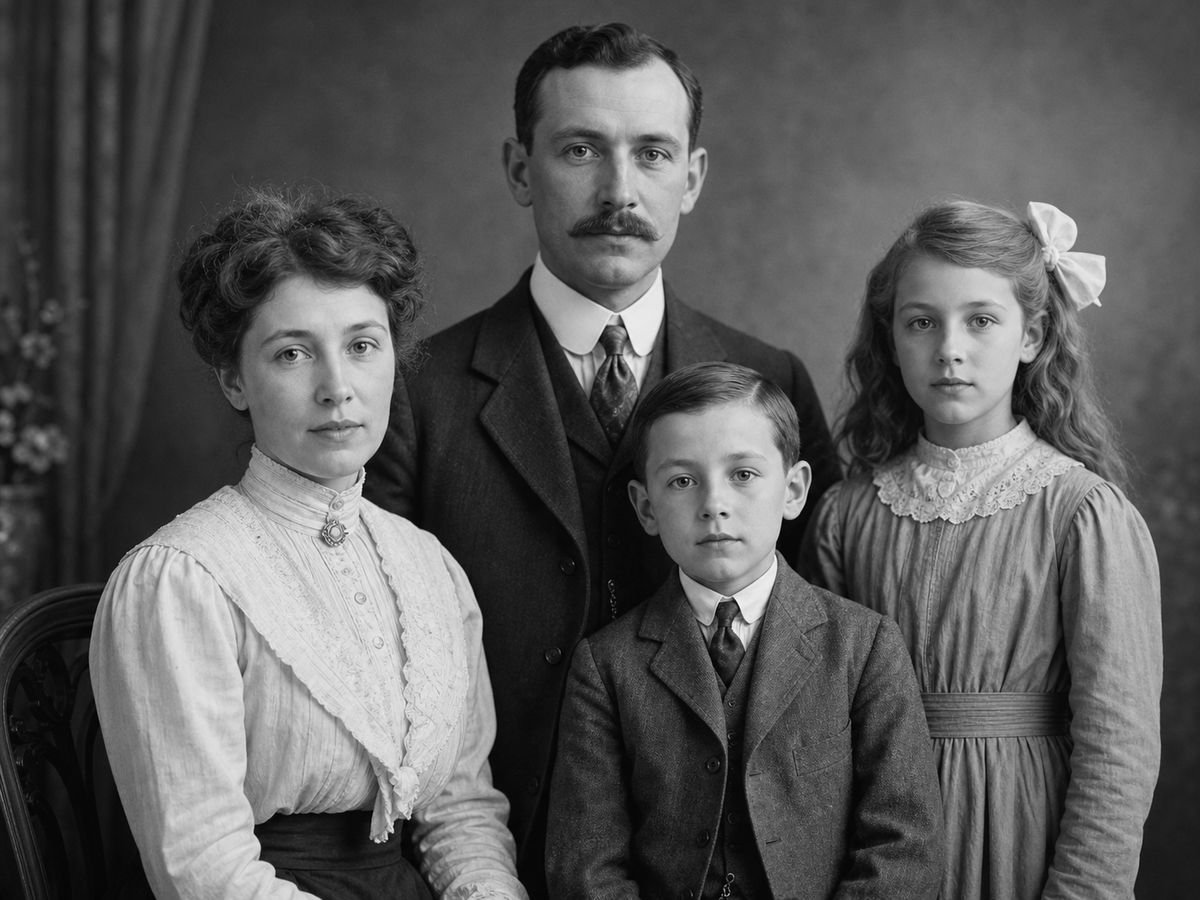
AI Photo Editor before and after examples
Compare the original image with the edited result. Move the handle to inspect edges, texture, lighting, and subject detail.


Create
Start in Megick
Use the button when you are ready to work with prompts, references, variants, and follow-up edits in one workspace.
Move into the studio
Open the image workspace with the asset, prompt, or visual direction you want to refine.
Choose the edit goal
Describe enhancement, cleanup, replacement, generation, restoration, or upscaling.
Iterate with context
Use variants and references so edits match the final channel and brand direction.
Improvements
What this workflow improves
A quick view of the practical image improvements this tool is best suited to handle.
- Prompt-based image editing
- Generation and refinement
- Background and quality tools
- Designed for repeat production
Feedback
What creators check before publishing
The comparison view makes it easier to spot whether details stayed natural.
Having related image tools close by keeps cleanup, enhancement, and export decisions in one workflow.
The studio path is direct: open the image, describe the edit, compare, then keep the best result.
Related tools
Keep working with related image tools
Move between connected image tasks without losing your place.
Unblur Text
Improve readability in text-heavy images such as screenshots, scanned notes, product labels, receipts, signs, and reference pages.
Image Watermark Cleanup
Remove internal draft labels, approved overlays, layout marks, or legacy watermarks only from assets you own or have permission to edit.
Remove Glare
Reduce shine, glass reflection, bright patches, and distracting glare so products, framed photos, and scenes look clearer.
Photo Colorizer
Add natural color to portraits, family photos, historical images, and vintage visuals while preserving the original mood.
FAQ
AI Photo Editor FAQ
Ready to use ai photo editor?
Continue to Megick to create, edit, compare, and save the finished image.