Remove glare and harsh reflections from photos
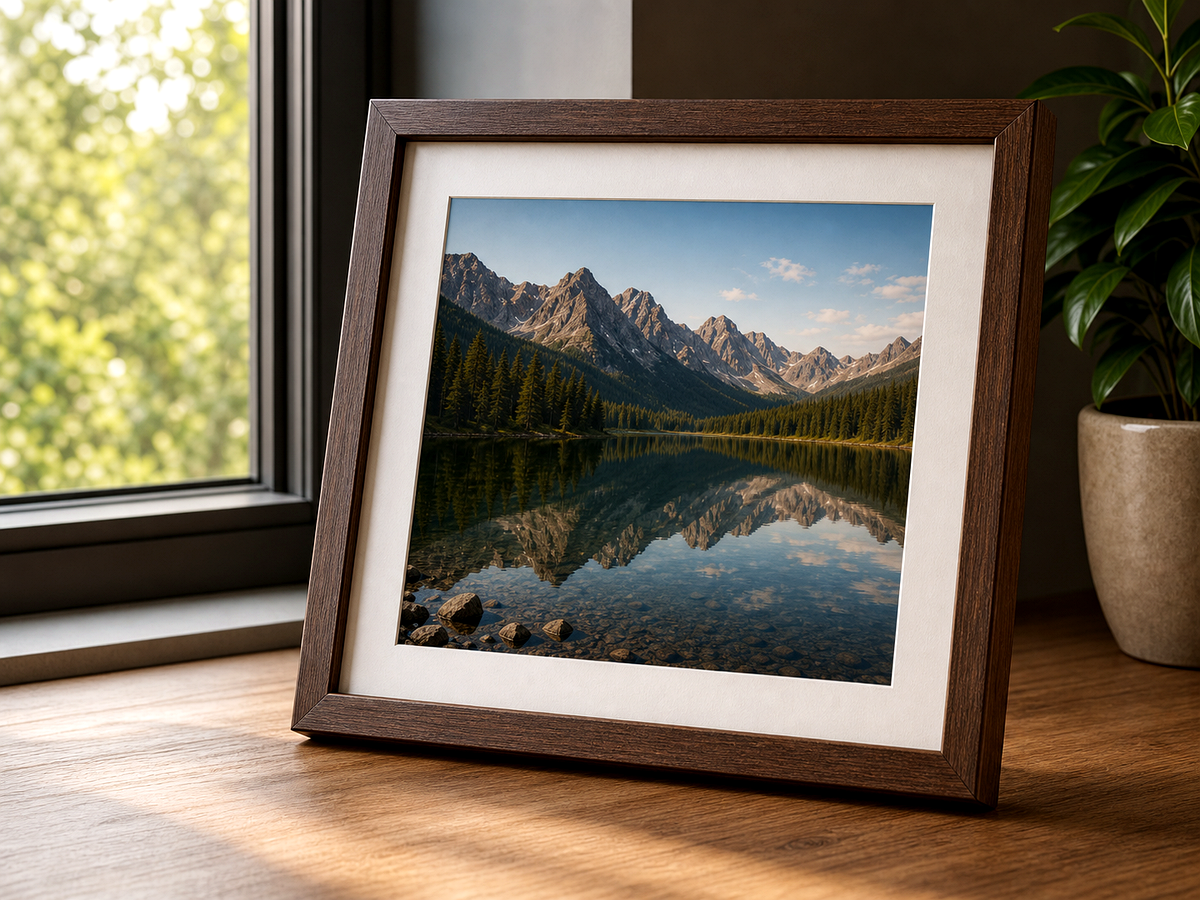
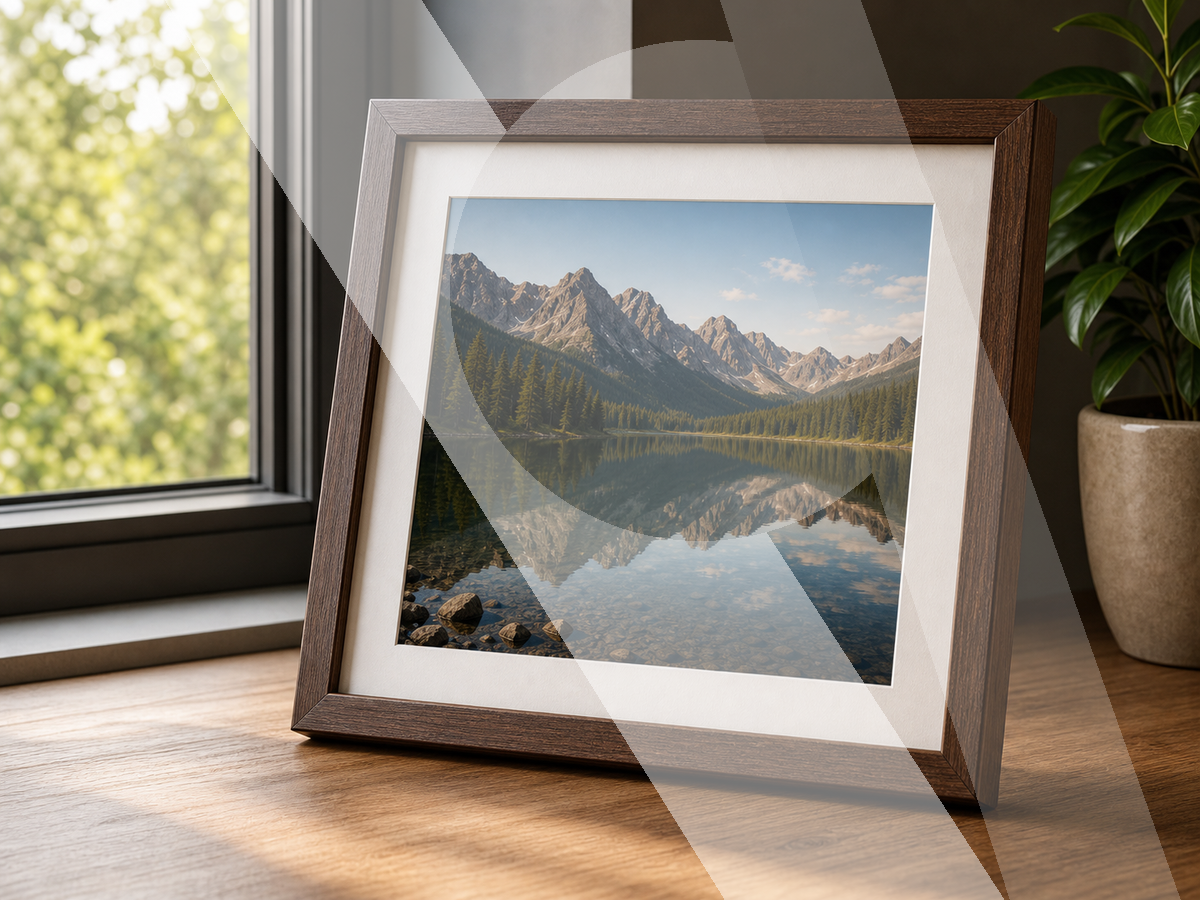
Reduce shine, glass reflection, bright patches, and distracting glare so products, framed photos, and scenes look clearer.
Create your own version
Open Megick to upload an image, write the edit direction, compare variants, and save the finished asset.
- Output options
- PNG · JPG · WebP
- Live comparison
- Before and after preview
- Studio workflow
- Prompt guided Before/after review
Overview
What remove glare helps you do
Start from a focused image goal, then continue in the studio when you are ready to create the finished result.
Use glare removal for photos with reflective surfaces, glass, frames, wet streets, shiny packaging, or harsh highlights.
Megick can pair reflection cleanup with contrast repair, sharpening, and background edits when glare is only one part of the image problem.
Why use it
Why use remove glare?
Practical ways to use this tool across product images, content, campaigns, and creative review.
Framed photo cleanup
Reduce glass glare on framed prints, artwork, and scanned display photos.
Product shine reduction
Improve reflective packaging, glossy surfaces, bottles, watches, and jewelry.
Scene highlight repair
Balance over-bright reflections in streets, windows, and bright interiors.
Results
Remove Glare before and after examples
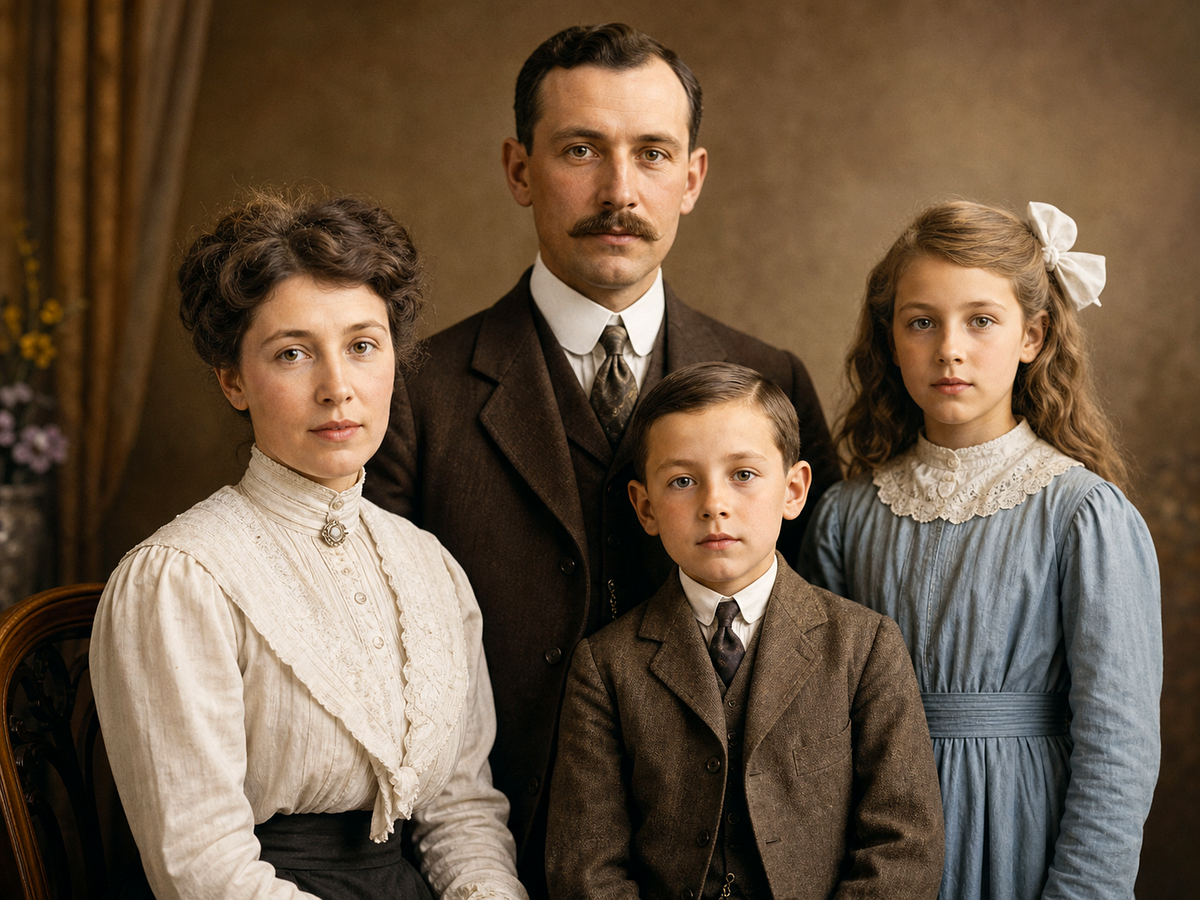
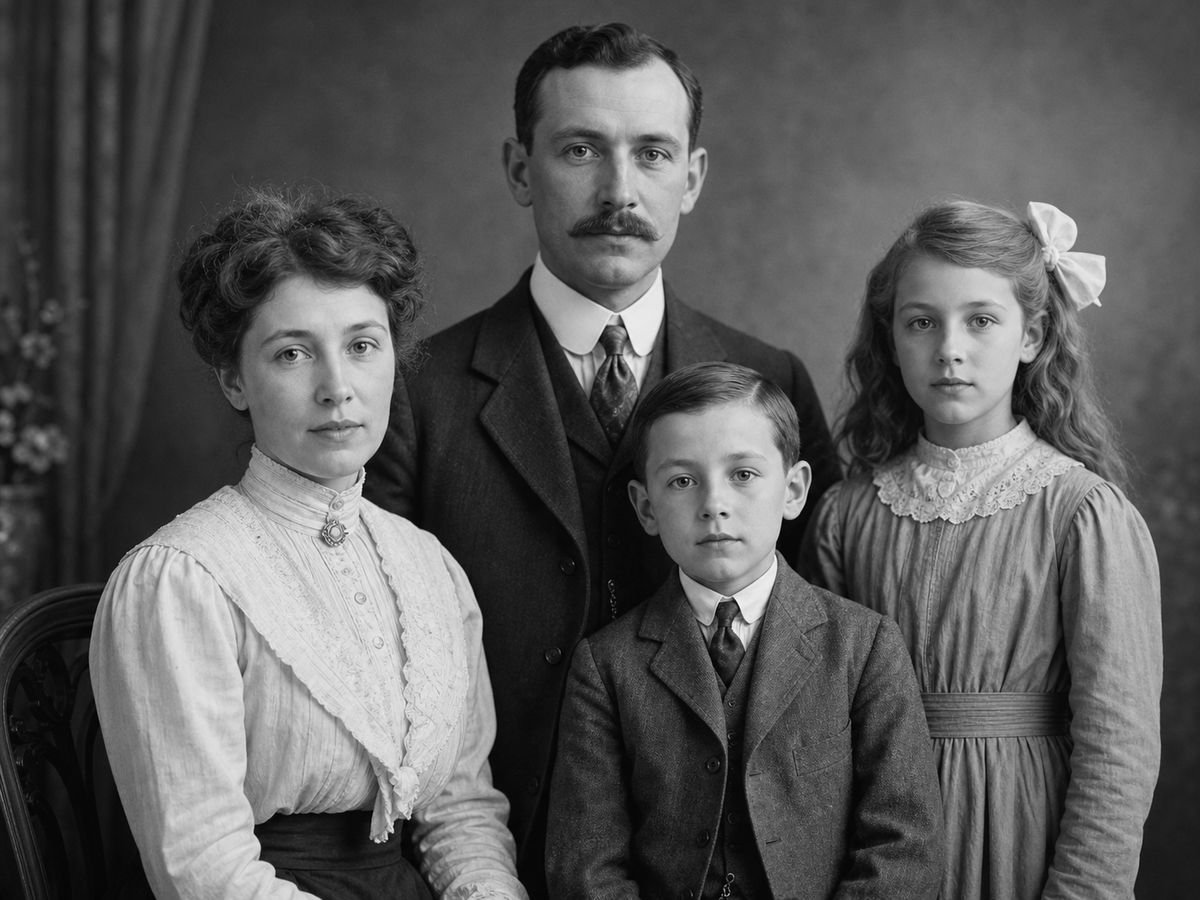
Compare the original image with the edited result. Move the handle to inspect edges, texture, lighting, and subject detail.
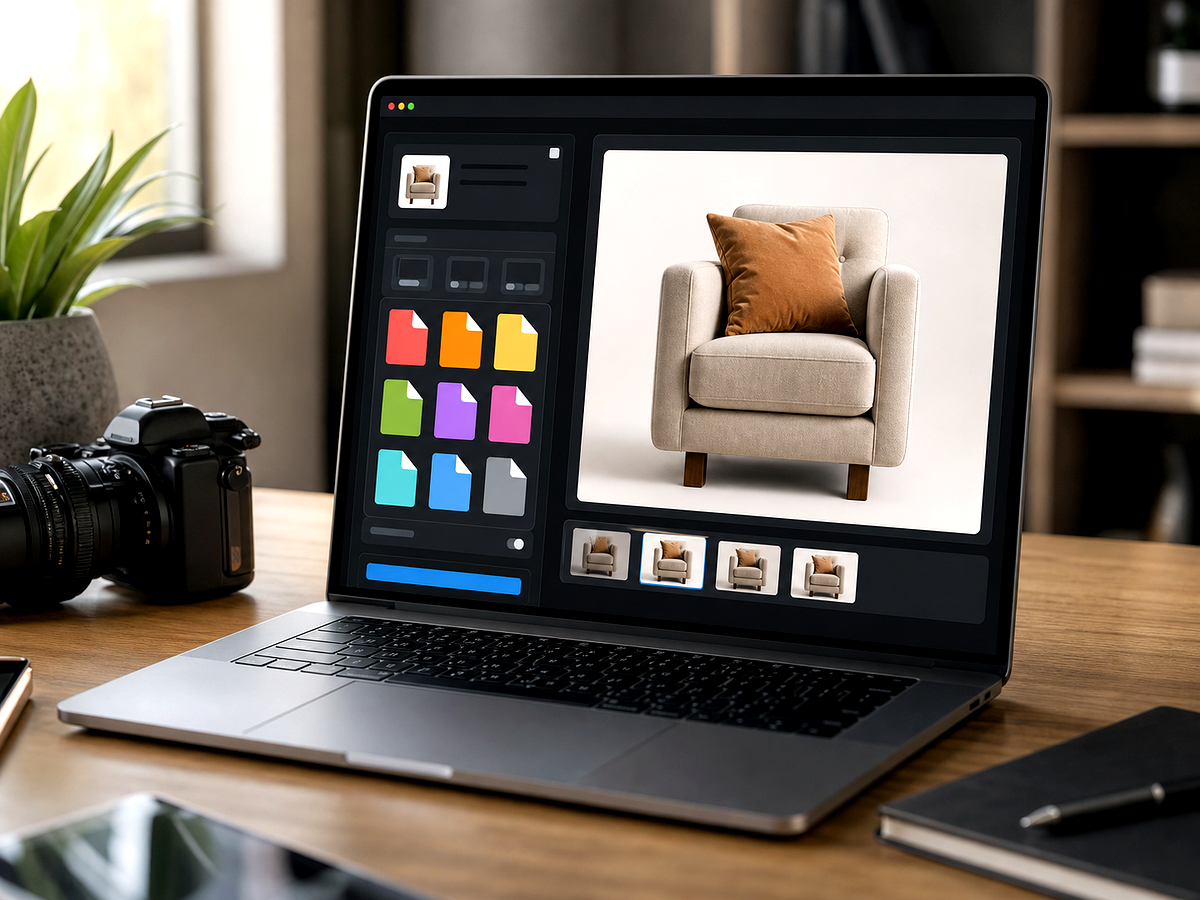
 Before / After

Create
Start in Megick
Use the button when you are ready to work with prompts, references, variants, and follow-up edits in one workspace.
Name the reflective area
Describe where glare appears and what should remain visible underneath.
Preserve real lighting
Ask for reduced glare without making the image flat or unrealistic.
Inspect texture
Review repaired regions for smearing, duplicated patterns, or lost detail.
Improvements
What this workflow improves
A quick view of the practical image improvements this tool is best suited to handle.
- Glass reflection cleanup
- Shiny packaging support
- Harsh highlight reduction
- Natural lighting preservation
Feedback
What creators check before publishing
The comparison view makes it easier to spot whether details stayed natural.
Having related image tools close by keeps cleanup, enhancement, and export decisions in one workflow.
The studio path is direct: open the image, describe the edit, compare, then keep the best result.
Related tools
Keep working with related image tools
Move between connected image tasks without losing your place.
Photo Colorizer
Add natural color to portraits, family photos, historical images, and vintage visuals while preserving the original mood.
Image Converter
Prepare images for publishing, ecommerce, social posts, decks, and creative handoff with format-aware editing in Megick.
E-commerce Suite
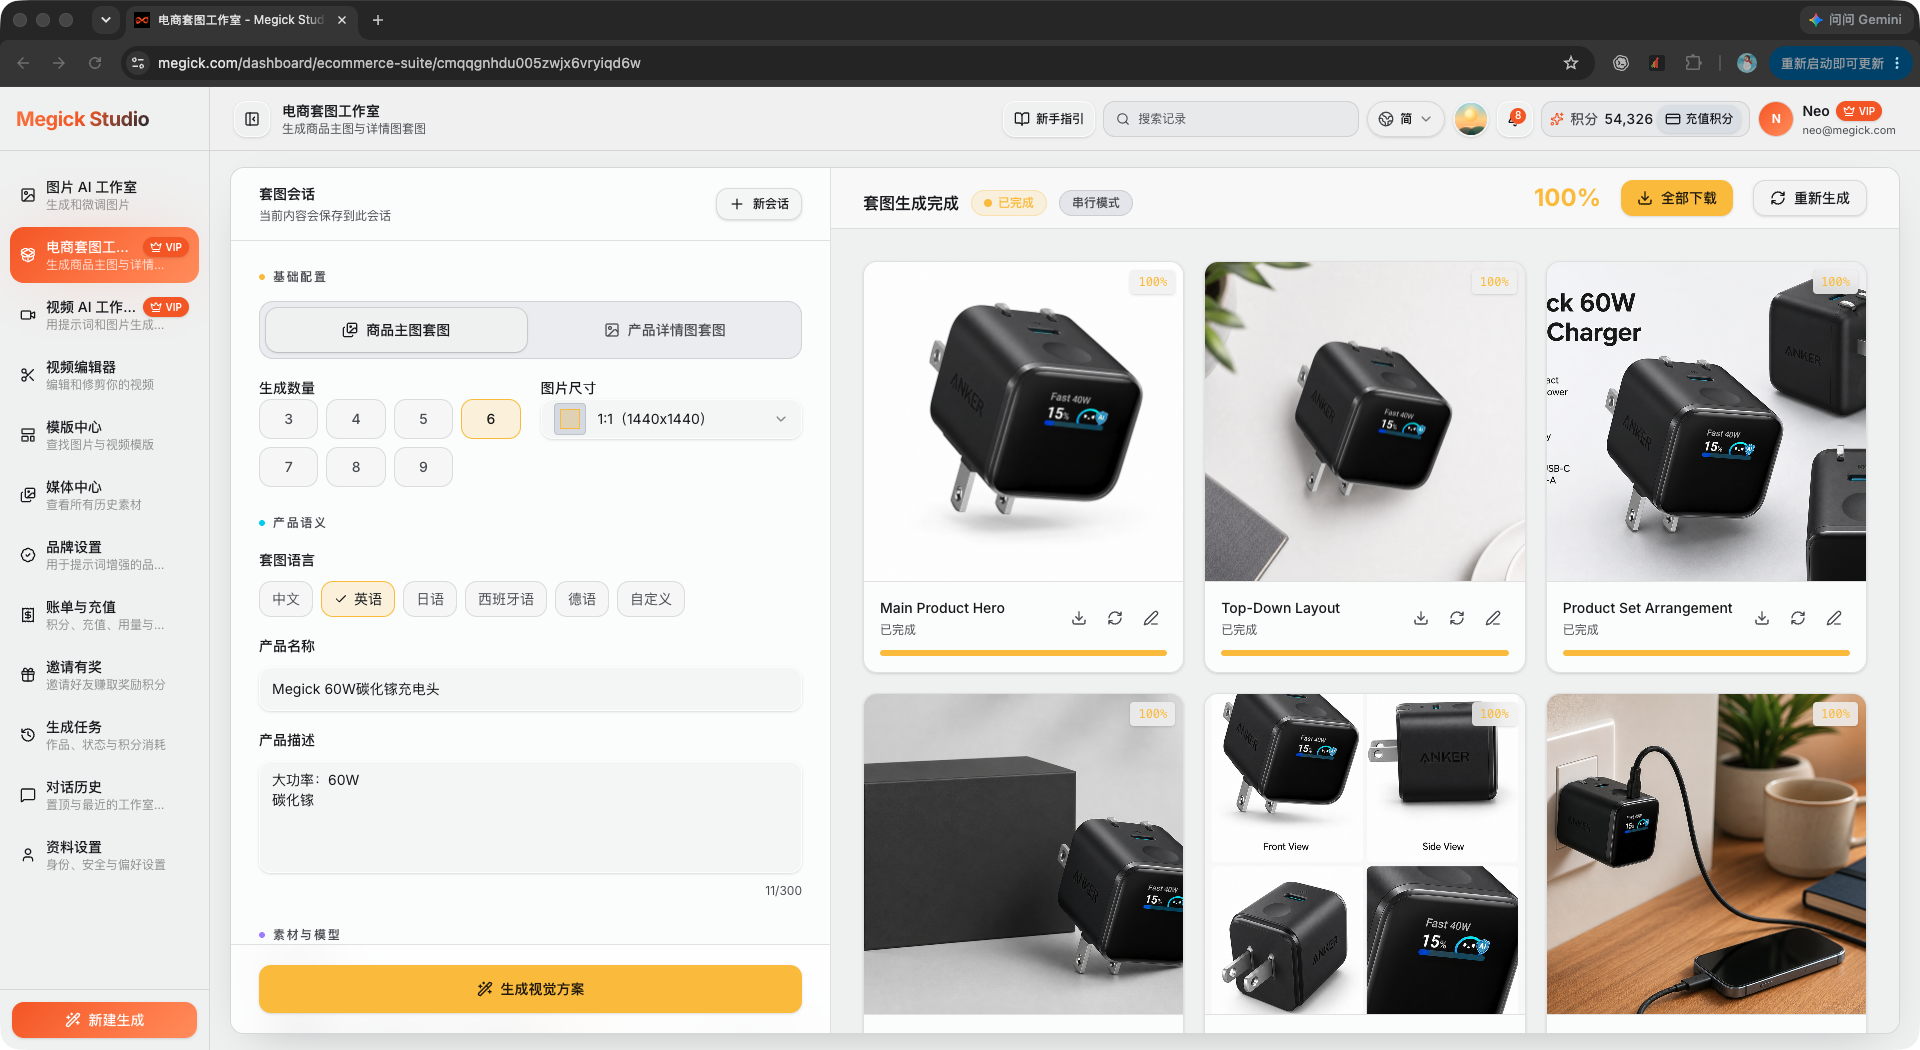
Create editable visual plans first, then generate main images, feature images, lifestyle scenes, and detail-page suites.
Photo Enhancer
Improve portraits, product photos, lifestyle shots, and social visuals with clearer detail, cleaner contrast, and a more polished finish.
FAQ
Remove Glare FAQ
Ready to use remove glare?
Continue to Megick to create, edit, compare, and save the finished image.